Resource
DIY Shade Sail Installation Guide
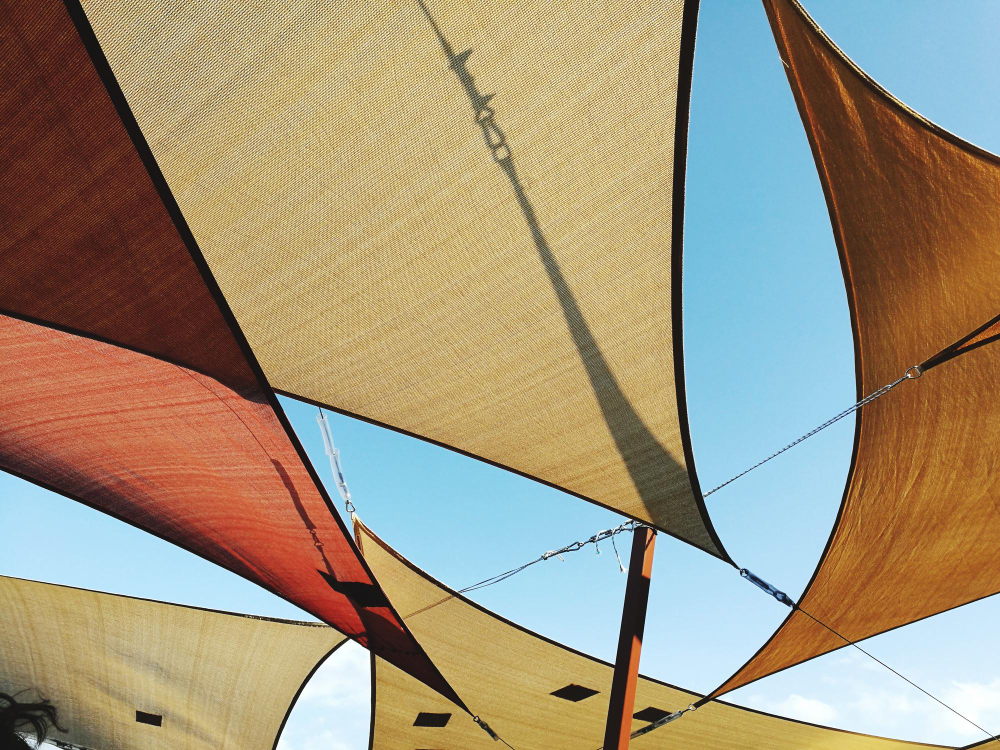
Installing your own shade sail is a rewarding and cost-effective way to enhance your outdoor space with shade and UV protection. Whether you’re looking to create a cool retreat in your backyard, provide shelter for a carport, or add a stylish feature to a patio or deck, proper installation is key to ensuring the longevity and performance of your shade sail.
This guide will walk you through every step of the installation process, from planning and measuring to securing the sail and making final adjustments. By following these instructions, you’ll be able to install your shade sail securely and confidently, ensuring it withstands various weather conditions and remains a durable addition to your outdoor area.
Shadable
Tools & Materials Needed
Shade sail kit (including stainless steel fittings such as turnbuckles, D-shackles, perimeter cable, and cable grips)
Tape measure
Drill and appropriate drill bits
Ladder
Gloves (for hand protection)
Spanners or adjustable wrenches
Lubricant (WD-40, silicone spray, or similar)
Marking pencil or chalk
Rope (for manual tensioning if needed)
DIY Shade Sail Installation Guide
Step 1: Planning & Measuring
Before installation, take time to plan the placement of your shade sail:
- Identify the area you want to shade and take accurate measurements.
- Determine fixing points such as walls, posts, or existing structures.
- Ensure that at least one fixing point is higher than the others to allow for water runoff.
- Leave approximately 300mm to 500mm at each fixing point for tensioning hardware.
- Check for underground utilities if you are installing new posts.
DIY Shade Sail Installation Guide
Step 2: Installing Fixing Points
If you are mounting to existing structures:
- Use eye bolts or wall anchors rated for heavy loads.
- Ensure the structure is solid and capable of handling the sail’s tension. If installing posts:
- Dig post holes at least 600mm to 1000mm deep (depending on soil type and sail size).
- Set posts in concrete and allow 24-48 hours to cure before attaching the sail.
DIY Shade Sail Installation Guide
Step 3: Attaching the Shade Sail
1. Identify the Correct Side
- The seams and hems should face upwards. This helps prevent mould buildup and prolongs the thread’s life.
- The underside of the sail is the "presentation side," offering a cleaner look.
2. Attach the Highest Corner(s) First
- Start by securing the highest corner(s) of the sail.
- This ensures proper positioning and makes tensioning easier.
3. Attach Direct Fix (D-Shackle) Points First
- If your sail has direct fix points, secure these first.
- Ensure the perimeter cable is inside the D-shackle.
4. Lubricate Turnbuckles
- Apply lubricant (WD-40, sewing machine oil, or axle grease) to prevent seizing
- Open turnbuckles so that both ends have equal spacing.
- Turnbuckles have a left and right thread—ensure you align them correctly.
5. Attach Turnbuckles to Fixing Points
- Hang turnbuckles on posts or fixing points.
- Ensure the right-hand threaded end is on the post, and the left-hand threaded end is on the shade sail. This ensures uniform tightening.
6. Attach Rope for Tensioning
- Thread a rope through the eyebolt at the fixing point.
- Loop the rope back through the shade sail’s corner ring from underneath.
- Pass the rope back through the eyebolt and loosely secure it.
- Repeat this process for all corners before applying full tension.
7. Pull the Sail into Position
- Using the starter cord or rope, pull each corner tight before securing it fully.
- Wear gloves to protect your hands from rope burns.
- Once close enough, attach the turnbuckle.
8. Secure the Remaining Corners
- Repeat the process for all corners.
- Start tightening turnbuckles gradually, about 15 turns at a time.
- Work around the sail evenly, tightening each corner a little at a time.
9. Wrap and Secure Excess Rope
- Once all points are tightened, wrap excess rope around the fixing point at least three times.
- Secure with two or more half-hitch knots to ensure stability.
- Tuck away any excess rope for a clean finish.
DIY Shade Sail Installation Guide
Step 4: Final Adjustments & Tensioning
- Ensure the fabric is pulled tight, and the perimeter cable is secure.
- Keep tightening the turnbuckles gradually until the sail is drum-tight.
- If your fixing points are strong, apply extra tension to improve wind resistance.
- Use two spanners to lock the turnbuckle nuts to prevent loosening over time.
DIY Shade Sail Installation Guide
Step 5: Final Checks
- Inspect all fittings to ensure they are secure.
- Confirm that the sail has a slight slope for water runoff.
- Recheck the turnbuckles after a few days to ensure they remain tight.
Custom Shade Sails Service
Maintenance Tips
- Periodically check tension and fittings, especially after strong winds or storms.
- Clean the shade sail with mild soap and water to prevent dirt buildup.
- Store the shade sail during extreme weather conditions to prolong its lifespan.
By following these steps, you’ll have a professionally installed shade sail that provides long lasting shade and enhances your outdoor space!